Installation & Getting Started
Get up and running in 5 minutes — install the extension, open the workbench, run your first flow.
After installing Zero-CRUD, just log in and use it — no configuration needed. All you do is install the extension, log in, and import a table.
Requirements
- VS Code ≥ 1.90
- A Zero-CRUD account (free to register)
If you later want to run the generated code locally (Runner), install the matching runtime as needed: Go, Python 3.8+, Node 18+, JDK 17+, plus your target database. This is independent of the workbench itself.
Install
Option 1: from the Marketplace
Search Zero-CRUD in the VS Code extensions panel and click Install.
Option 2: offline VSIX install
Download the extension .vsix file (replace <version> with the version you downloaded), then run in your terminal:
code --install-extension zero-crud-<version>.vsixOpen the workbench
After install, use any of these entry points:
| Entry | Action |
|---|---|
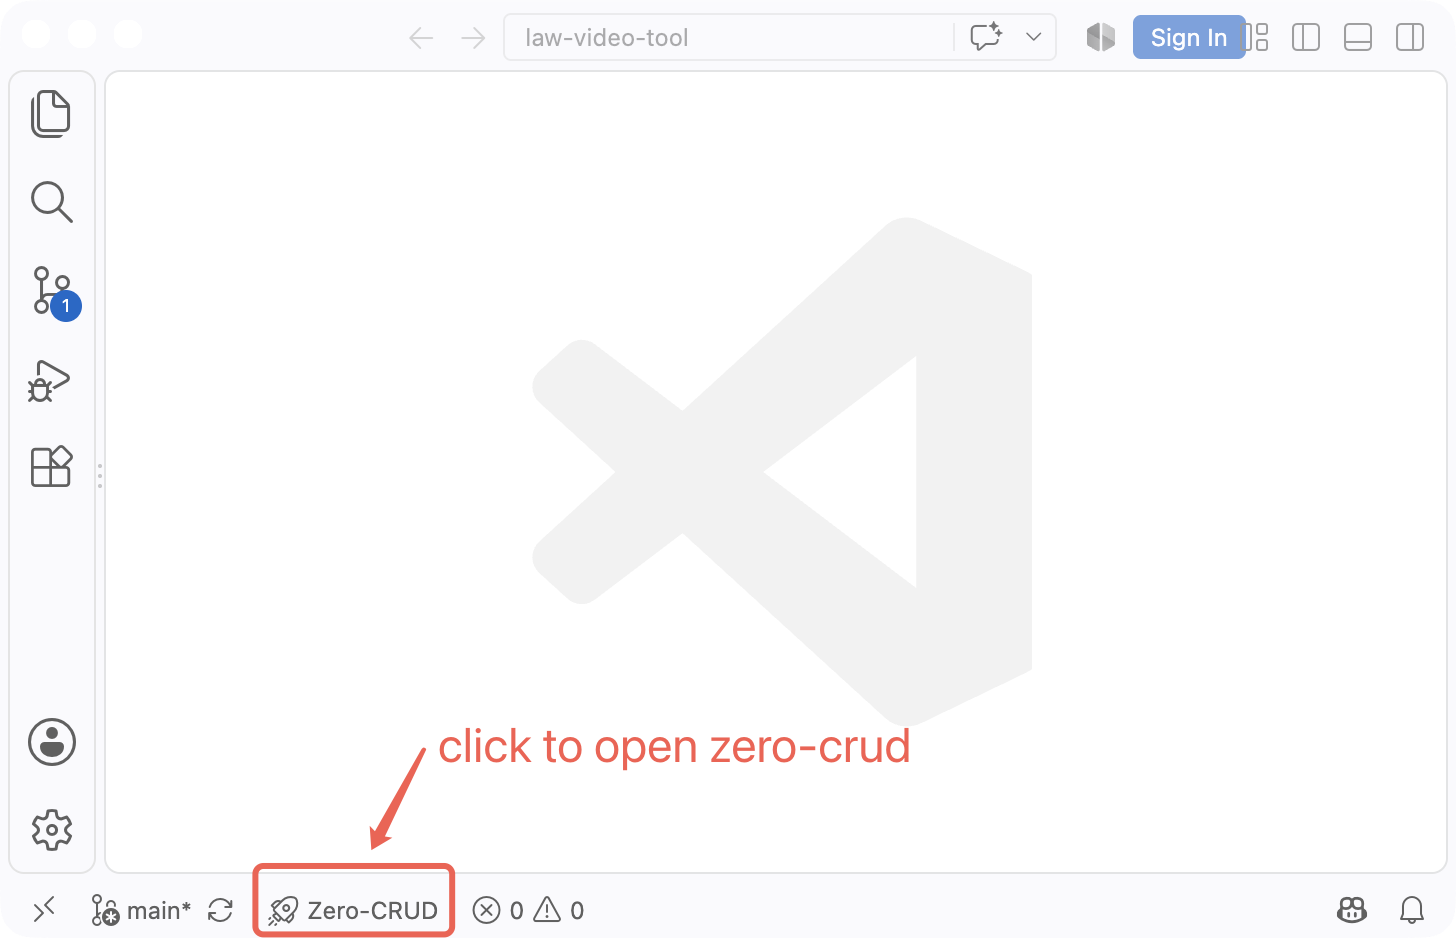
| Status bar button | Click the 🚀 Zero-CRUD item in the status bar (bottom-right of the VS Code window) |
| Command palette | Ctrl+Shift+P → type Zero-CRUD: Open Builder |
| Auto-open | Turn on zero-crud.openOnStartup in VS Code settings |
The workbench opens in the main window (editor area) and fills the whole editing region, so you can work on the same screen.
First step: run through a minimal flow
- Create a new project
- Import one table (paste DDL / read from a connected database)
- Click Generate and see the generated file tree
- Open Preview to browse the files — this step succeeding means your install is correct
For the fuller flow, see the “Workflow” chapter in Workbench & Usage.
FAQ
- The workbench is blank? Make sure VS Code ≥ 1.90; if it’s still blank, restart VS Code and try again.
- No status-bar button after login? Reload the window; the button appears on the left of the status bar once startup finishes.